The classic 8-bit Game Boy was the first handheld console released by Nintendo. The Game Boy was a triumph, capturing fans across the world. Despite the success, many gamers complained about the screen, struggling to play the Game Boy at night or in dim light.
Lucky for you, we have a solution. Replacing the Game Boy light with a backlight will not only make your Game Boy easier to use but also give your games new life.
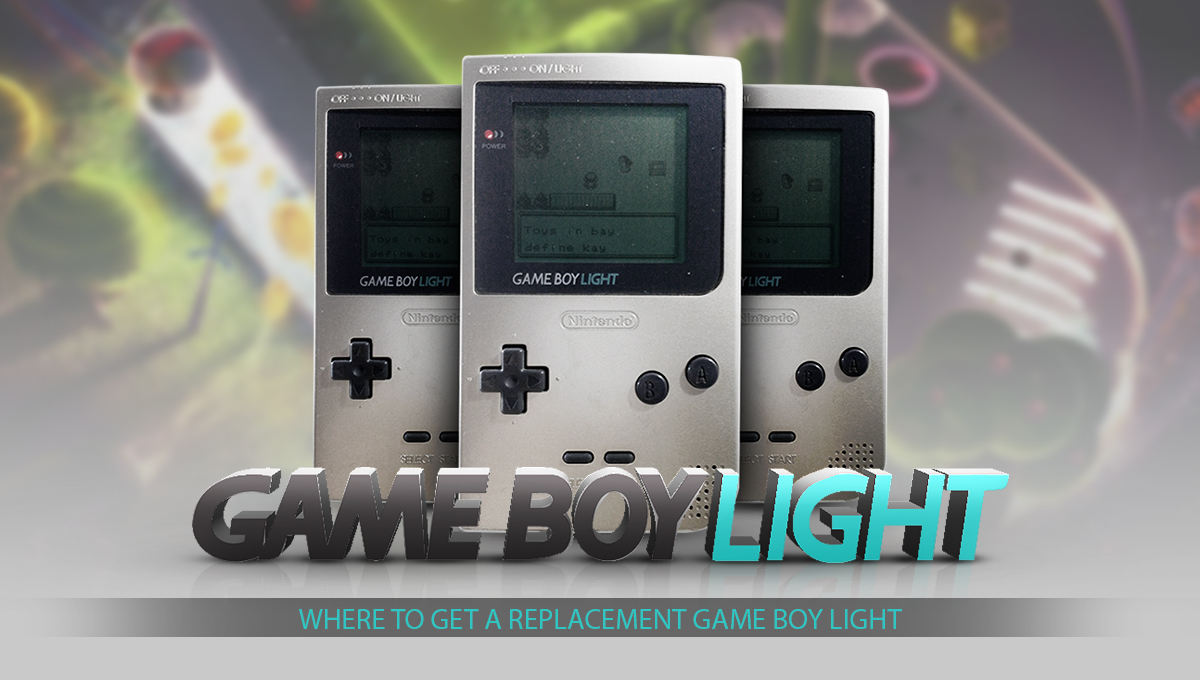
Finding a Replacement Game Boy Light
There are a number of 3rd party solutions out there. We suggest avoiding front lights for the Game Boy. These often require a complicated attachment that covers the screen and does little to improve the graphic quality of the games.
No products found.No products found.
We suggest using a LED panel backlight that fits behind Game Boy LCD lighting. It requires a little work and modification on the console but even a beginner with the right tools should be able to quickly add a replacement Game Boy light.

You can find the replacement Game Boy light on online marketplaces like ebay and Amazon. If you do a search online, you can also find companies that specialize and sell replacement Game Boy light kits. Most should include the wires and resistors that you need for the project. The LED replacement Game Boy lights also come in a range of colors for personalizing your console.
Keep in mind, since you are modifying the original Game Boy you may void any guarantees that still apply to the system.
Replacing the Game Boy Light
Gameboy Light Repair Part I
Many of the LED replacement Game Boy lights come with tools. For this project, you will need a Phillips screw driver, a soldering iron, a thin blade, rubbing alcohol, a can of compressed air and perhaps a clean cloth.
No products found.No products found.
Also keep in mind you are digging into the console, and mistakes can affect gameplay, so BE CAREFUL! These instructions are compatible with the original Game Boy. Modifications must be made for Game Boy Color and Game Boy Advanced.
Step 1: Disassemble the Case
Remove the screws from the Game Boy case. Keep the screws safe, as you will need them after you replace the Game Boy light. Carefully remove the ribbon connecting the front and back PCBs (logic boards). Next, remove the screws connecting the front PCB (which has the screen) from the case. We suggest cleaning the case with alcohol before continuing.

Step 2: Remove the Film
You need to remove the polarized film beneath the LCD. With the screen front side down, use a sharp blade to remove the silver, polarized screen from glass LCD. Start at one corner. Once you pry off both the film and the adhesive, peel it away from the glass with your fingers. When complete, use rubbing alcohol to clean the glue off the glass.
No products found.No products found.
Step 3: Prepare the Backlight
Clean behind the LCD screen with the compressed air. Any dust can cause an annoying spot on the screen. Next, check the orientation of the polarization film that came the backlight. Hold the film up to another screen or monitor and slowly turn it. You will see the film transparency change. The film should be dark when in front of the screen for the correct orientation.
Step 4: Prepare the Wires

When in the right position, solder the two wires to the cable for the backlight. Red should connect to the “+” pad and blue the “-“ pad. Install and secure the resistor to the red wire. This will ensure the exact voltage for the LED.
Step 5: Install the Backlight
Make sure you touch only the edge of the backlight and polarization film. Carefully slide them into the glass LCD inside the Game Boy. It should fit into the existing frame. The wires and cable should trail out of the frame on the

bottom left. Solder the two wires on the corresponding location inside the Game Boy (marked with a “+” and “-“). Test the backlight. If you are happy with it (and there are no annoying smudges), secure the LCD on top of the backlight. Excess wire can be threaded through the holes next to the capacitor in the PCB.
Step 6: Completing the Installation
Install the buttons and pads on the front shell. Carefully insert the front PCB into the shell just as you removed it, with the shell facing down.
Gameboy Light Repair Part 2 (Completing Installation)
Screw the front PCB in place. Reattach the ribbon cable to the connect the front and back PCB. Connect the front and back shells to close the console and secure with the remaining screws.
Results of the Replacement Game Boy Light
The Game Boy has been one of the top-sellers for Nintendo, but the simple, dot matrix-like 8-bit screen has always been an annoyance for gamers.
The LED replacement Game Boy light significantly increases visibility of the screen even in well-lit areas and unleashes the Game Boy for gaming at night!
No products found.
Last update on 2024-06-25 at 06:44 / Affiliate links / Images from Amazon Product Advertising API